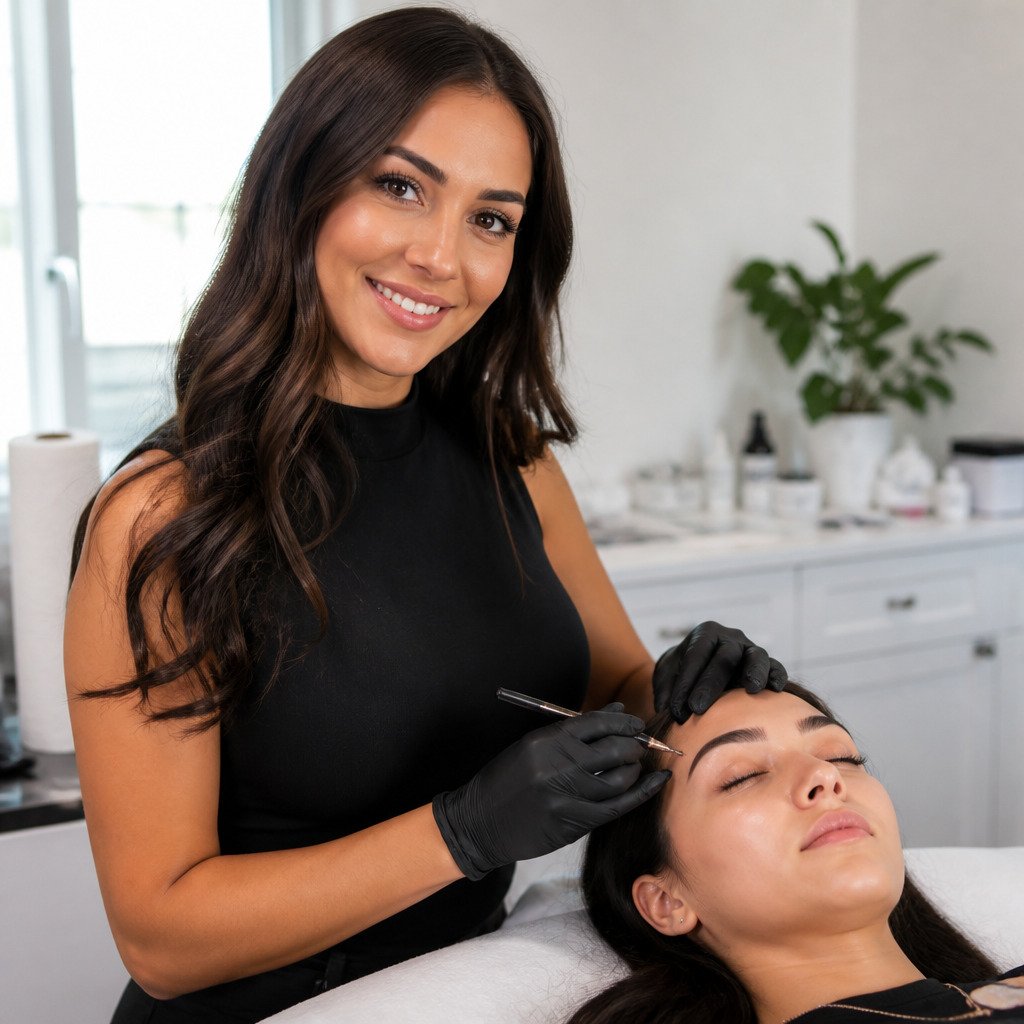
Last Updated: November 2, 2026
Quick Summary
Microblading is a semi-permanent technique that uses a handheld tool with tiny blades to deposit pigment just beneath the skin, drawing fine strokes that look like natural hairs. The appointment includes a consultation and brow mapping, numbing, pigment application, and an aftercare briefing, usually taking several hours in total.
- Your technician maps the brow shape and you approve the design before any pigment is applied.
- A topical numbing product is applied before the work begins, and you can ask for more if needed.
- Brows look darker right after the appointment and soften as they heal over the following weeks.
- Expect flaking around days 5 to 10, and avoid picking or scrubbing the flakes.
- A follow-up touch-up visit is often scheduled around weeks 4 to 6.
Table of Contents
- What Microblading Is and How It Works
- Your Consultation and Brow Shape Selection
- The Appointment, Step by Step
- What Your Brows Look Like Right After the Appointment
- Microblading Healing Process: Days 1 Through 30
- Microblading vs. Powder Brows: How the Experience Differs
- Microblading Aftercare Instructions to Follow at Home
- Booking Your Microblading Consultation at Lash Box Syosset
- Frequently Asked Questions
Microblading is one of the most popular ways to fill in thin or sparse brows, and knowing what to expect during microblading can make your appointment far more comfortable. This guide explains each stage, from the consultation to the moment you leave the chair.
What Microblading Is and How It Works
Microblading is a semi-permanent cosmetic technique that uses a handheld tool with tiny blades to deposit pigment just beneath the skin's surface. The strokes are drawn to look like fine, natural hairs, which is why the result often reads as fuller brows rather than painted-on color.
Results are described as semi-permanent because the pigment gradually fades over time. Many clients choose touch-up sessions to keep their brows looking defined.
Your Consultation and Brow Shape Selection
A consultation is a helpful place to start. It is the time to talk about the shape you want, the color that suits your skin tone, and any health concerns or past brow treatments. Be honest about medications, skin conditions, and allergies, because these can affect whether a procedure is appropriate.
Brows are often mapped on the face with a pencil or thread before any work begins. The goal is a shape that complements your eye area and facial structure. Take time to look at the mapped brow from a distance and in the mirror before approving it. A small adjustment at this stage saves frustration later.
The Appointment, Step by Step
Knowing the order of events in the room makes the appointment feel far less mysterious.
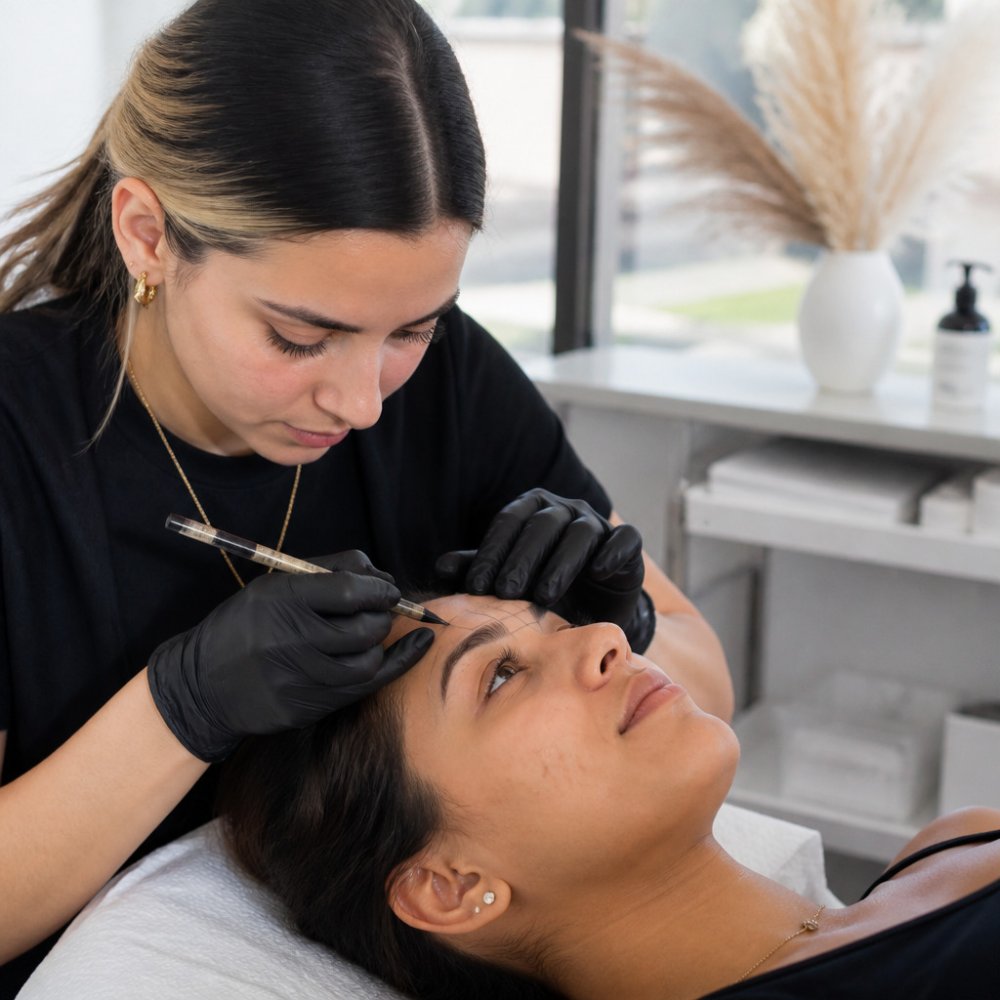
1. Arrival, paperwork, and skin check (about 10 to 15 minutes). You will review a consent form, confirm your health history, and let your technician look closely at your brow area.
**2.
3. Pigment color selection (about 5 to 10 minutes). Your technician chooses a pigment based on your natural brow hair, skin undertone, and how your skin tends to hold color.
**4.
5. Pigment application (about 30 to 60 minutes). Your technician works in passes, laying down hair-like strokes and checking symmetry as they go. You may feel scratching or light pressure.
6. Cleanup and aftercare briefing (about 10 to 15 minutes). The area is cleaned, and your technician walks you through aftercare, including what to avoid and when to expect flaking.
Numbing and Comfort During the Procedure
Many people describe microblading as tolerable rather than painful, often comparing it to light scratching. A topical numbing product is commonly applied before the work begins. Sensitivity varies by person and by where on the brow the work is happening, the area closest to the brow bone often feels more sensitive than the tail. Tell your technician right away if you feel more than you expected, since adjustments can usually be made.
How Long the Procedure Takes
Ask when booking how long your appointment will take, since timing depends on your brow shape and the work involved. Set aside a dedicated block of time rather than squeezing the appointment between other commitments, so you can relax and speak with your technician throughout.
The table below sums up the main stages of a typical microblading appointment and roughly how long each one takes.
| Step | What happens | Typical time |
|---|---|---|
| Arrival and skin check | Consent form, health history, skin review | 10 to 15 minutes |
| Consultation and brow mapping | Map brow shape, approve design | 15 to 30 minutes |
| Pigment color selection | Choose shade based on skin and brow hair | 5 to 10 minutes |
| Cleansing and numbing | Cleanse area, apply topical numbing | 20 to 30 minutes |
| Pigment application | Hair-like strokes, symmetry checks | 30 to 60 minutes |
| Cleanup and aftercare briefing | Clean area, review aftercare, book follow-up | 10 to 15 minutes |
What Your Brows Look Like Right After the Appointment
Immediately after microblading, brows often look darker and more defined than they will once healed. Redness, slight swelling, and tenderness are normal. The color settles and softens over the following weeks, so judging the final result on day one is not reliable.
Expect the initial strokes to appear crisp, with some clients noticing a bold look at first. This is part of the healing process and not a sign that the work is wrong.
Microblading Healing Process: Days 1 Through 30
Healing is where most of the questions come up, because the brows go through several visible changes before they settle.
Days 3 to 5: darkening and tightening. The pigment often looks even darker as the skin begins to heal, and the brow area may feel tight or slightly itchy.
Book your appointment online →
Days 5 to 10: flaking and peeling. Small flakes begin to lift from the strokes, and the brows can look patchy for a few days. This is expected.
Days 10 to 14: the "ghost" phase. Once flakes clear, the color can look surprisingly light or faint.
Weeks 3 to 4: color returns and settles. The brows gradually deepen back toward their intended shade, and the strokes soften into a more natural look.
Weeks 4 to 6: follow-up visit. A touch-up session is often scheduled around this window to refine shape and color.
Darkening, Fading, and Color Changes
Pigment does not stay static. It often appears boldest in the first week, lightens during flaking, and then settles into a softer tone. Over the following months, gradual fading is normal, and sun exposure, exfoliation, and skin type all influence how quickly that happens. Cool-toned pigments can shift warmer over time on some skin, which is one reason technicians choose shades with the healed result in mind rather than the day-one look.
When to Seek Medical Advice
Mild redness, tenderness, and flaking are expected. Seek prompt professional assessment if you notice spreading redness, increasing pain after the first few days, warmth that worsens rather than improves, pus or unusual discharge, fever, or a rash that extends beyond the brow area. These are not typical healing signs, and a qualified healthcare professional is the right person to evaluate them. If you have a known skin condition, a history of cold sores near the brow, or a compromised immune system, raise it during your consultation so your technician can advise on whether to proceed.
Realistic Results Across Skin Types
Results vary, and that variability is normal rather than a flaw. Oily skin can break down pigment faster and blur crisp strokes, so a softer technique may sometimes be discussed. Dry or mature skin may hold strokes well but can be more sensitive during healing. Existing brow hair, scar tissue, and previous permanent makeup in the area all affect how evenly new pigment takes. A realistic goal is softer, fuller-looking brows that suit your face, not a guarantee of identical results from one client to the next.
Microblading vs. Powder Brows: How the Experience Differs
Microblading and powder brows are both popular, but they achieve different looks. If you are still deciding whether permanent brow work is right for you, our balanced guide to permanent makeup covers the trade-offs. Microblading uses individual hair-like strokes, while powder brows create a soft, shaded effect that resembles makeup. The best choice depends on your skin type, oil production, and the look you want.
Oily skin can affect how strokes hold, so a different technique may sometimes be considered. Discuss both options during your consultation so you can decide with accurate information.
Microblading Aftercare Instructions to Follow at Home
Good aftercare protects your investment and supports even healing. Keep the area clean and dry, and follow the specific instructions your technician gives you. Avoid soaking your face, sweating heavily, or using harsh exfoliants on the brows while they heal.
- Keep brows dry for the period your technician recommends.
- Do not pick or scrub flakes.
- Apply only the recommended aftercare product, and use it sparingly.
- Avoid sun exposure and tanning during healing.
- Attend your scheduled follow-up appointment.
Booking Your Microblading Consultation at Lash Box Syosset
If you are considering microblading, the best next step is a consultation. You can review your options, ask questions about the process, and plan a shape that suits you. Our online booking system makes it easy to find a time that works around your schedule. You can also reserve directly through our permanent makeup page.
Visit our permanent makeup page to learn more about the services we offer and reserve your appointment. For current services and booking, visit lashboxny.com. Our team at Lash Box Syosset is ready to help you achieve brows that look natural and feel like you.
Frequently Asked Questions
Is microblading painful during the procedure?
Most clients describe microblading as uncomfortable rather than painful. A topical numbing cream is applied before the procedure begins and is typically reapplied during the appointment. Clients usually feel pressure and light scratching as the hair-like strokes are created. Tell your technician early if you feel sharp pain, so the numbing can be adjusted. Comfort varies from person to person, and your technician can explain exactly what to expect for your skin.
How long does the actual microblading process take?
A first microblading appointment commonly takes about two to three hours. That time includes the consultation, brow mapping, numbing, the strokes themselves, and aftercare instructions. The procedure portion is shorter than the full visit. Touch-up appointments are usually shorter because the brow shape is already set. Ask your technician for the expected timing when you book, since sessions can vary.
What is the difference between microblading and powder brows?
Microblading uses a handheld blade to create fine, hair-like strokes, which gives a natural, feathered look. Powder brows use a machine to deposit pigment in a soft, shaded finish that looks more like makeup. Healing and fading can also differ between the two methods. Your technician can help you decide which style fits your brow shape, skin type, and everyday look.
How many sessions are needed for microblading eyebrows?
Many clients come back for a follow-up or touch-up session after the initial appointment. The follow-up helps fill in areas where pigment did not fully retain during healing. Color can fade over time, so some clients return periodically for refreshers. The number of visits depends on your skin, healing, and the look you want. Your technician will outline the expected schedule during your consultation.
What should I avoid doing before my microblading appointment?
Avoid blood thinners, alcohol, and certain supplements unless your provider has approved them, since these can increase bleeding and bruising. Do not tint or wax your brows in the days before the appointment. Arrive with clean skin and no makeup on the brow area. Let your technician know about any skin conditions, recent cosmetic procedures, or allergies. Following these steps helps the pigment settle more evenly.
What not to do after getting your eyebrows microbladed?
Do not pick, scratch, or rub the brows while they heal, since this can pull out pigment. Avoid sweating heavily, swimming, and sun exposure during the early healing period. Do not apply heavy creams or makeup directly to the brows. Keep the area dry as instructed. Follow your aftercare guide closely, and contact your technician if you notice unusual redness, warmth, or discharge.
Is microblading safe for eyebrows?
Microblading is performed with sterile, single-use tools by trained technicians. Safety depends heavily on the practitioner's training, hygiene practices, and proper aftercare. It is not suitable for everyone, including people with certain skin conditions, active infections, or who are pregnant. Discuss your health history at your consultation. If you notice signs of infection, such as spreading redness, swelling, or pus, seek medical advice promptly.
What does the immediate aftercare look like after microblading?
Right after the appointment, brows often look darker and more defined than the final result. Some tenderness, redness, and swelling are common for the first few days. Light scabbing or flaking usually follows as the skin heals. Your technician will provide a written aftercare plan, and following it helps the strokes heal with clear, even color.
